---
MS POWERPOINT 2010 – Create Business Logo
STEPS
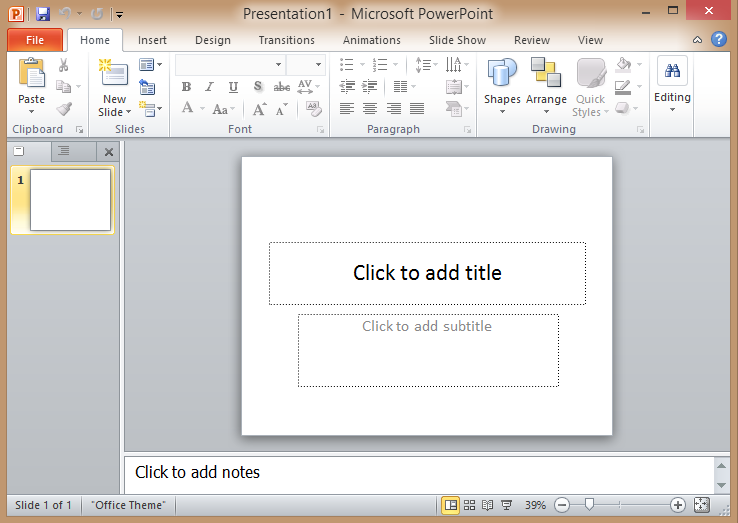
1) Run MS PowerPoint 2010.
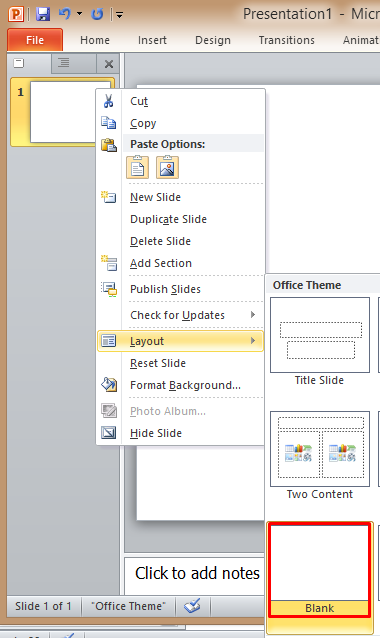
2) Set the slide as a blank slide.
2.1) Right-click the slide icon in the slide navigator panel, select Layout/Blank.
3) Insert logo image.
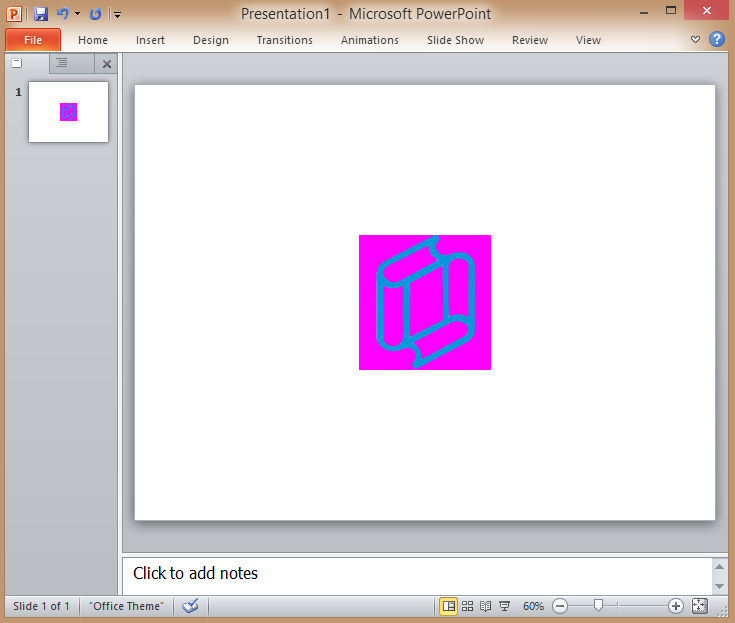
3.1) Copy the following image and paste to the slide.
3.2) Outcome:
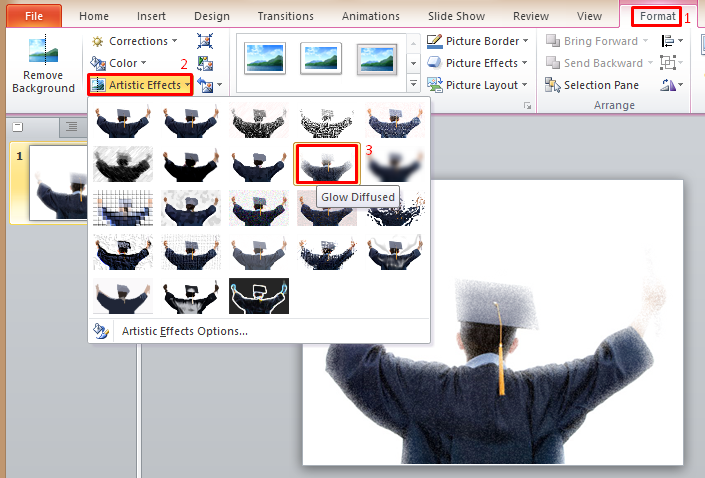
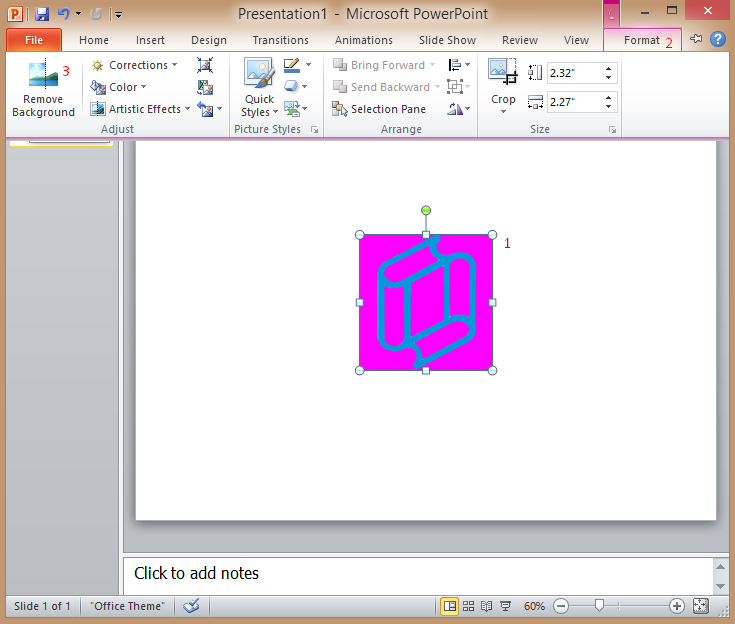
3.3) Suppose we just want to have the logo outlines without the purple background,
-1) Click the image.
-2) Click the Format tab.
-3) Click Remove Background button.
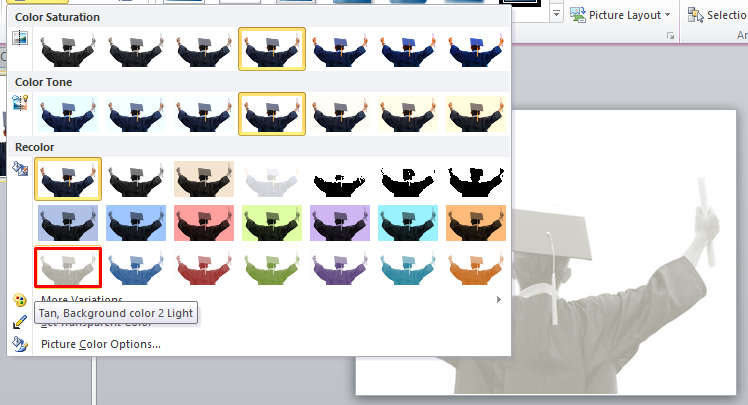
3.4) Enlarge the selection box to cover the entire logo outline.
3.5) Click remove background button once again.
3.6) The background color is gone.
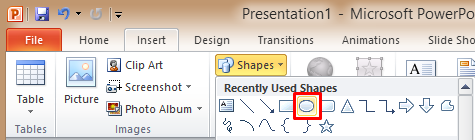
4) Add shape.
4.1) Click Insert Tab. Click Shapes drop-down button, select Oval shape.
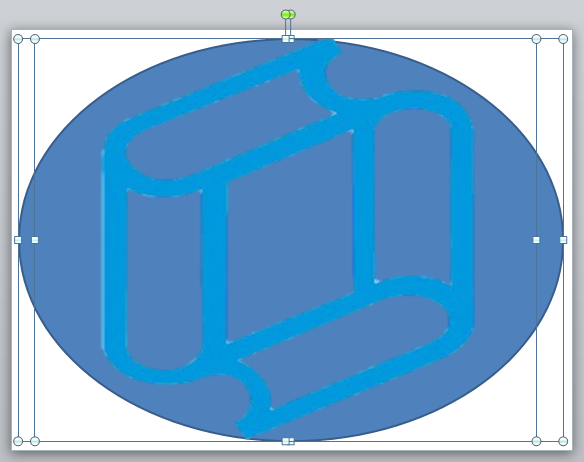
4.2) Put the oval shape behind the book logo.
4.3) Select both objects and resize them to fit the entire slide space.
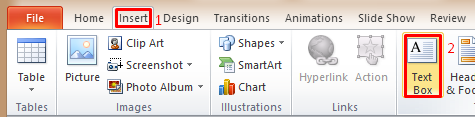
5) Add Text Box.
5.1) Click Insert Tab. Click Text Box button.
5.2) Set as follows…
-1) Font Name: Arial Rounded
-2) Font Size: 130
-3) Alignment : Center
-4) Color: White (for Book) and Orange (for Shop).

\
You can also choose a darker fill color for the oval to improve the look of the design.
6) Group objects.
6.1) Press CTRL+A (Select All).
6.2) Press CTL+G (Group Objects).