Labels

ionic (40) Google Apps Script (28) Construct2 (6) Google API (5) Google Cloud (5) Java (5) presentation (5) jasper (4) plunker (4) Notepad++ (2) liferay (2) ms access (2) mysql (2) PHP (1) SQLite (1) android (1) blogspot (1) html5 (1) ionic-creator (1) javascript (1) mobile (1) plainjs (1) utilties (1)

Learn the powerful enterprise adaptable database:

Getting Started With ADABAS & Natural

Showing posts with label Google Cloud. Show all posts

Saturday, February 25, 2017

Google Firebase Quickstarts for Javascript


.
Google Firebase Quickstarts for Javascript

1) Goto Firebase Github

Firebase Quickstarts for Javascript: https://github.com/firebase/quickstart-js

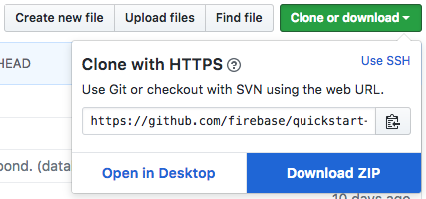
2) Download ZIP

3) Unzip and Find Scripts

For this exercise, we will be using Auth scripts.

4) Add Firebase Init Scripts

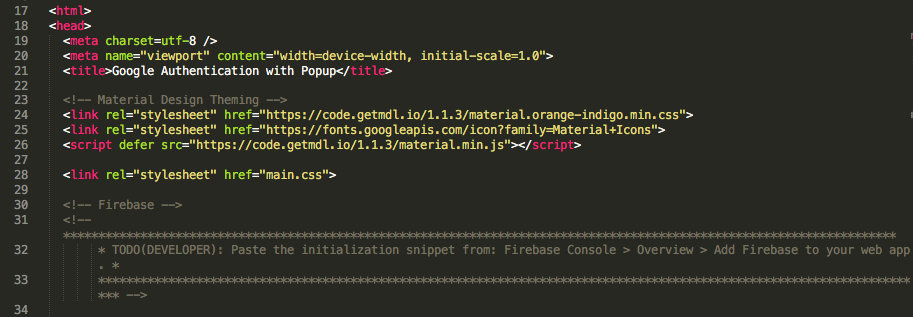
Let’s say we want to try the google-popup auth, copy the script to google-popup.html .
Your script initially is like below.
Replace the commented codes with the actual Firebase Init Scripts.

5) Start the localhost server

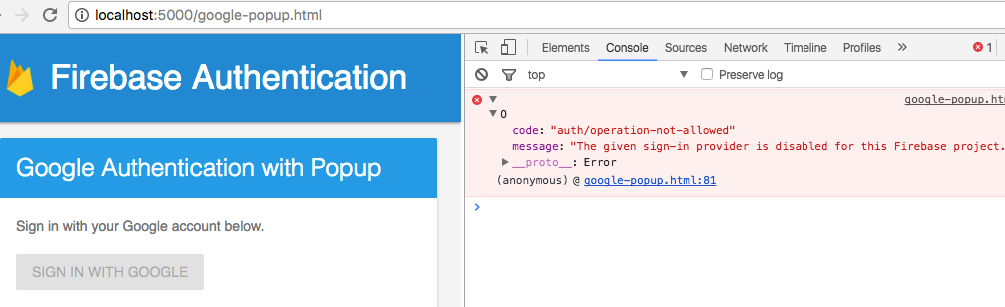
Error?

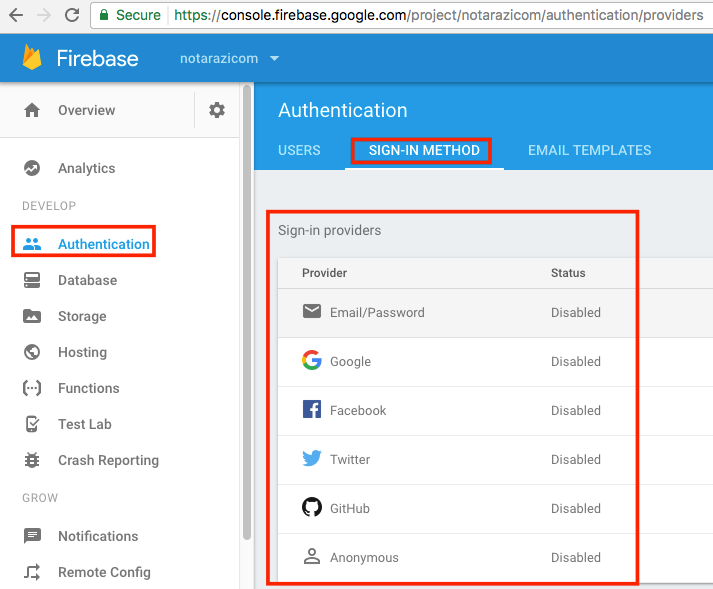
If you encounter the following error, go to Firebase Console and enable sign-in provider

Message
:
"The given sign-in provider is disabled for this Firebase project. Enable it in the Firebase console, under the sign-in method tab of the Auth section."
__proto__
:
Error

In this exercise, we are going to enable Google Sign-in providers.
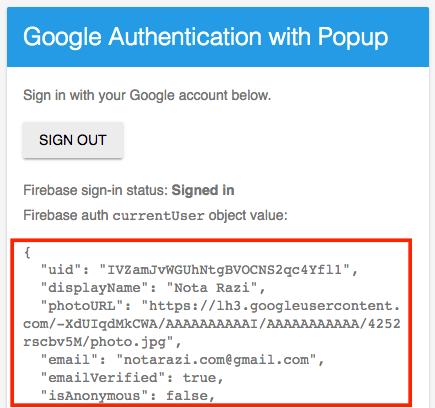
This time, sign-in popup window should be available.

Google Authentication with Popup is successful.

.

Google Firebase: Getting Started


.
Google Firebase: Getting Started

1) Create Firebase Project

  1. Create a Firebase project in the Firebase console, if you don't already have one.
  • If you already have an existing Google project associated with your app, click Import Google Project. Otherwise, click Create New Project.
  • If you already have a Firebase project, click Add App from the project overview page.
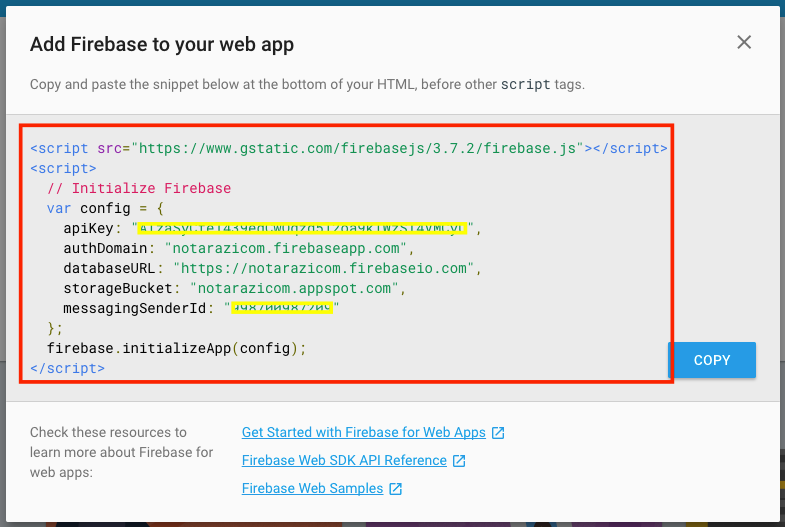
  1. Click Add Firebase to your web app.
  1. Note the initialization code snippet, which you will use in a minute.

    authDomain: "notarazicom.firebaseapp.com",
   databaseURL: "https://notarazicom.firebaseio.com",
   storageBucket: "notarazicom.appspot.com",

2) Run a Local Web Server for Development

If you are building a web app, you will find that some parts of the Firebase JavaScript SDK require that your web app be served from a server rather than from the local filesystem. You can use the Firebase CLI to run a local server like this:

$ npm install -g firebase-tools
$ firebase init    # Generate a firebase.json (REQUIRED)
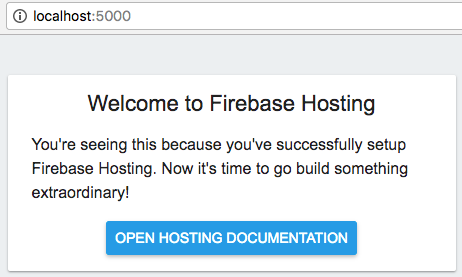
$ firebase serve   # Start development server
firebase login
firebase init
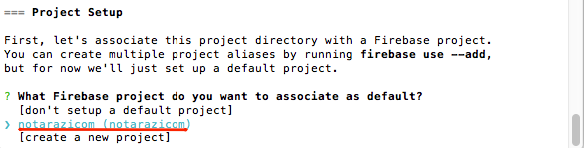
Associate Local Project Directory to Firebase Project
Database Setup
Functions Setup
Hosting Setup
Web Page Setup

firebase serve
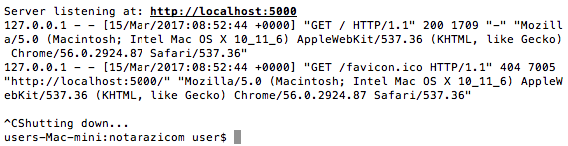
CTRL+C to shutdown localhost server
firebase logout
Firebase Command Summary

(go into new local project directory)
firebase login
firebase init
firebase serve
firebase logout
.

Friday, February 3, 2017

Google Form Styling


.
Google Forms are amazing – so functional and flexible!
At Morning we very occasionaly use Google forms to run online promotions or surveys for our clients. Google forms are reliable, simple to use and, best of all, easy to share with all the stakeholders in an online project.
In this tutorial I'll show you how to:
  • Style Google Forms so that they fit into your site's look and feel.
  • Replace that dull Google confirmation page with your own custom 'Thank you' page.
Don't be scared of all the steps. I've broken it all down into bite size pieces so it is easier to follow. If you've already got a Google form ready to style you can skip straight to Step 6.

Step 1

Sign up for a Google Docs account if you haven't already done so.

Step 2

Log into your new Google Docs account.

Step 3

Click New and choose Form from the drop down menu.

Step 4

Create your form using Google's straight forward tools.

Step 5

When you have finished compiling your form, click the link at the bottom of the page titled: 'You can view the published form here'. Here's an example of what it should look like.

Step 6

Right click anywhere on the page and click 'View Source' to look at the code behind the form.

Step 7

Copy all the code between <form> and </form> tags and paste it into the new form page on your web site.

Step 8

Now you're ready to style your form! Insert your own stylesheet between the <head> tags.

Step 9

Now you have a beautifully styled form but it still sends users to an ugly Google confirmation page.
Add a bit of javascript to redirect the completed page to a confirmation page of your choosing:

REPLACE:

<form action="YOUR-EMBEDDED-GOOGLE-SPREADSHEET-LINK" method="POST">

WITH:

<script type="text/javascript">var submitted=false;</script>
<iframe name="hidden_iframe" id="hidden_iframe" style="display:none;" onload="if(submitted) {window.location='http://YOUR-THANK-YOU-PAGE-URL';}"></iframe>
<form action="YOUR-EMBEDDED-GOOGLE-SPREADSHEET-LINK" method="post" target="hidden_iframe" onsubmit="submitted=true;">
.

Wednesday, February 1, 2017

Google App Engine: Getting Started


.
Google App Engine: Getting Started

1) Login into Google Cloud Platform

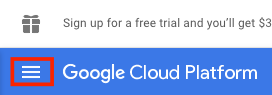
Notice the Side Menu button.
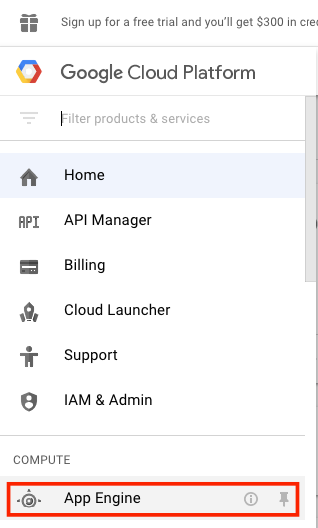
Expand the menu.
Select App Engine.
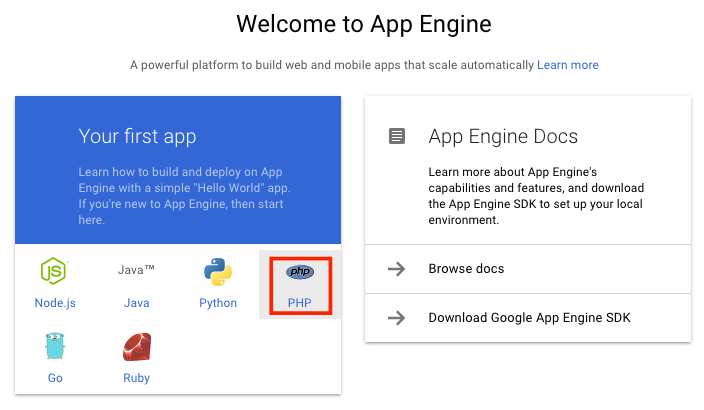
Select Language (PHP).
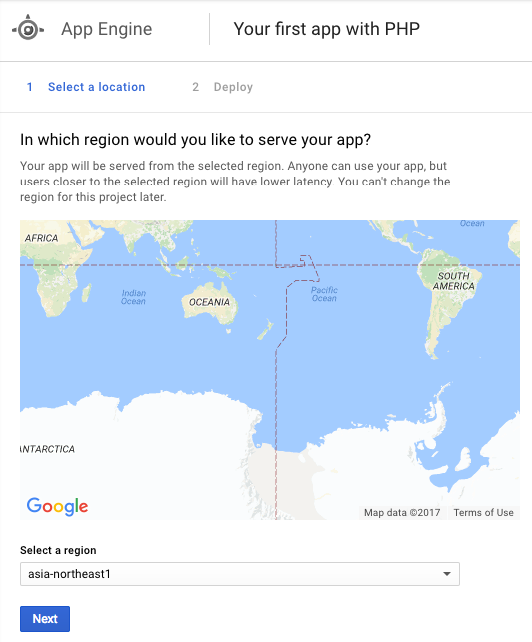
Specify your location.
Wait.
Follow the tutorial.

2) Tutorial

2.1. App Engine Quickstart

Introduction

This tutorial shows you how to deploy a sample PHP  application to Google App Engine using the gcloudcommand.
Here are the steps you will be taking.
  • Build and run your "Hello World" app
  • You will learn how to run your app using Google Cloud Shell directly in your browser. At the end you'll deploy your app to the Web using the gcloud command.
  • After the app...
  • Your app will be real and you'll be able to experiment with it after you deploy, or you can remove it and start afresh.

2.2. App Engine Quickstart

Google Cloud Platform organises resources into projects. This allows you to collect all the related resources for a single application in one place.
Click Continue or click “Select a different project” to create a new project.
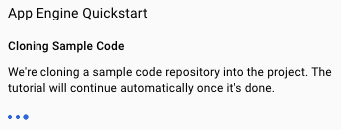
Wait.

2.3. View Sample Code

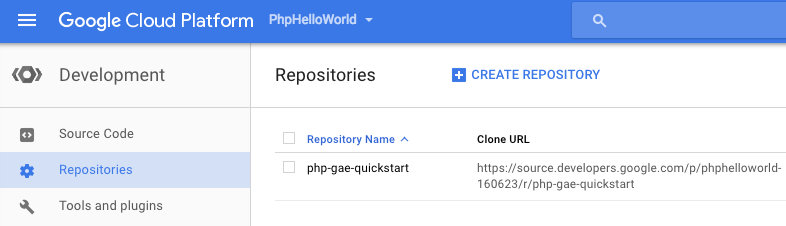
We have the sample PHP code prepared for you in the Google Cloud Repository. To view your cloned code, open the menu on the left -hand side of the console and select Development.

2.4. Configuring your deployment

  1. YAML files
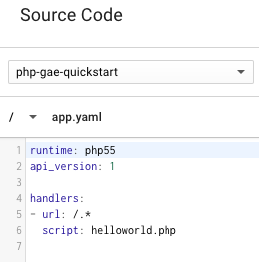
  2. You are now looking at the Hello World folder of the cloned code. Google App Engine uses YAML files to specify a deployment's configuration. The app.yaml file configures the deployment environment.
  3. Open the app.yaml file by left-clicking it.
app.yaml files contain information about your application, including the runtime environment, URL handlers and more.

2.5. Using Google Cloud Shell

Cloud Shell is a built-in command line tool for the console. We're going to use Cloud Shell to deploy our app.
  1. Using Google Cloud Shell
  2. Open Cloud Shell by clicking
  3.  from the navigation bar at the top.
Cloud Shell is a built-in command line tool for the console. We're going to use Cloud Shell to deploy our app.
TUTORIALDIR=~/src/phphelloworld-160623/php_gae_quickstart-2017-03-06-07-34
git clone https://github.com/GoogleCloudPlatform/appengine-try-php.git $TUTORIALDIR
cd $TUTORIALDIR
git checkout gcloud
dev_appserver.py --php_executable_path=/usr/bin/php-cgi $PWD
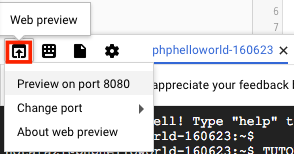
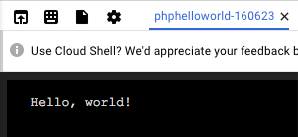
Preview.

2.6. Create the application

In order to deploy our app, we need to create an App Engine application. This sets up the app and selects a region.
  1. Creating the app with Cloud Shell
  2. To create your app enter:
gcloud app create
gcloud app deploy
gcloud app browse
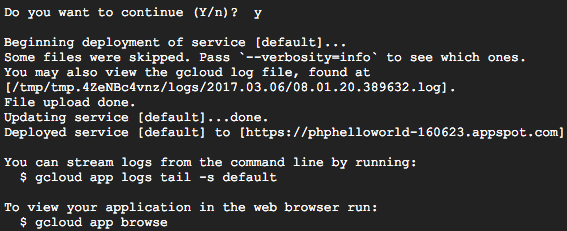
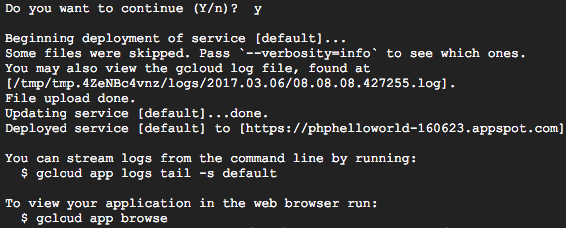
2.7. Deploying with Cloud Shell
You can use Cloud Shell to deploy your app. To deploy your app, enter:
gcloud app deploy app.yaml --project phphelloworld-160623
2.8. View your app's status
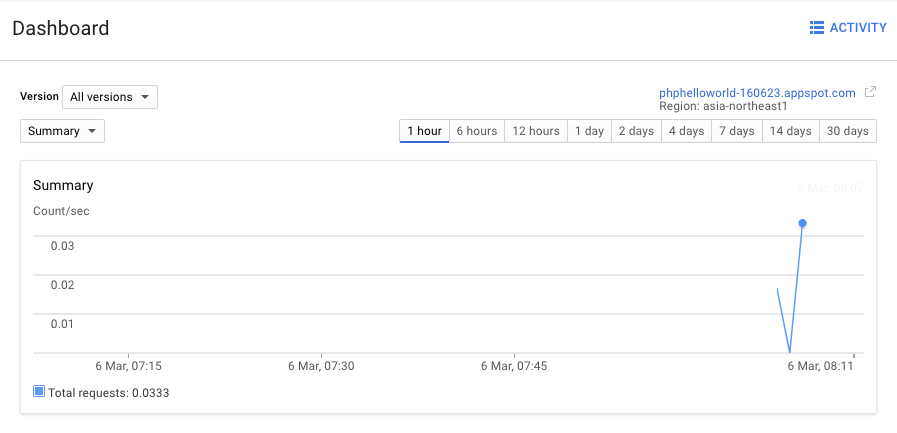
You can check up on your app by monitoring its status on the App Engine dashboard.
Open the menu on the left-hand side of the console and select App Engine.

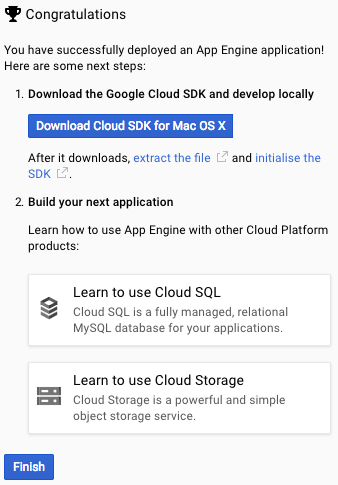
 2.9. Congratulations

You have successfully deployed an App Engine application! Here are some next steps:
  1. Download the Google Cloud SDK and develop locally
  2. Download Cloud SDK for Mac OS X
  3. After it downloads, extract the file  and initialise the SDK .
  4. Build your next application
  5. Learn how to use App Engine with other Cloud Platform products

FURTHER REFERENCES


.