Sketchware Tutorial - Getting Started
NO PROGRAMMING CODES AT ALL!
This tutorial is a step-by-step guide for beginners.
Sketchware is a great application. Even those without IT or Programming background would be able to follow this tutorial and finally run the app on Android device.
It is is SUPER EASY!
0. Get the app
You can get the app by:
a. Going to Android App store, search “Sketchware” and install.
b. Downloading from
and install.
c. Copy the apk (from b) into your device and install
1. Run the installer.
Read the installation information.
Tap INSTALL button
Wait until installation completed.

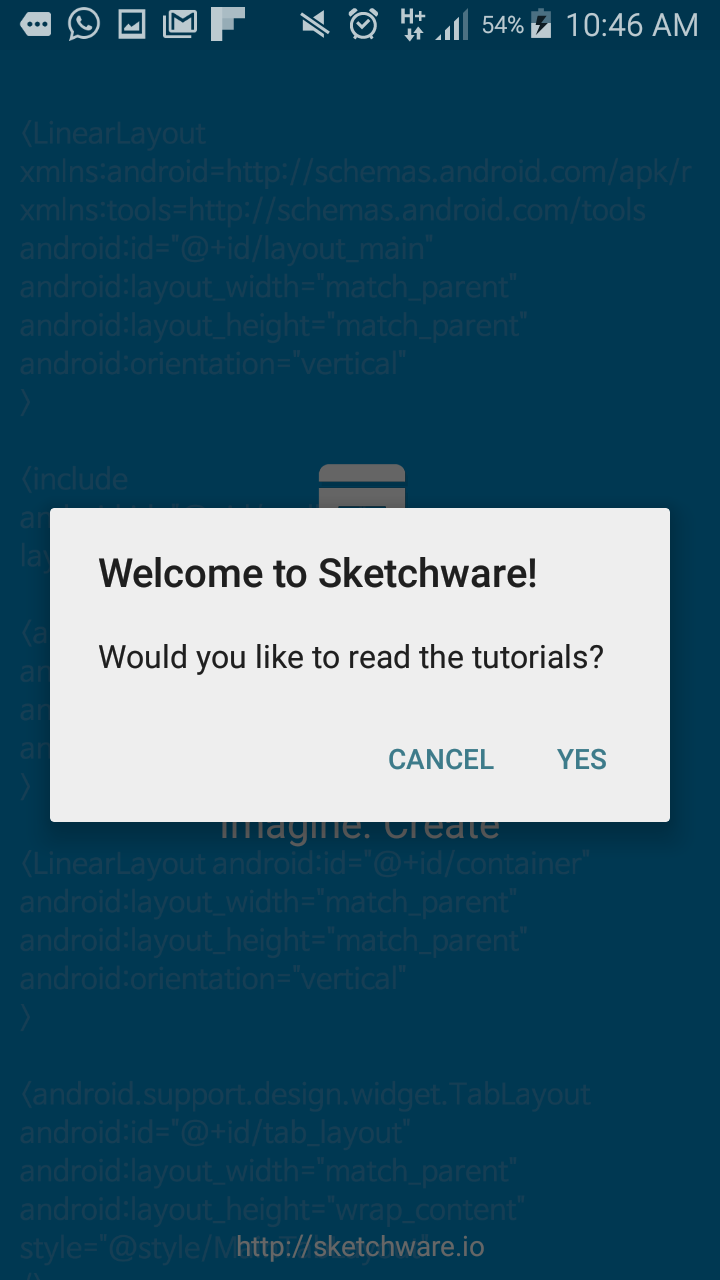
2. Run Sketchware.
The app may ask for your option to read the tutorials.
Select CANCEL.
3. App Menu
App menu is located at top left.

If you click the App Menu, you get the menu that includes the Tutorials. So you can select this menu item if you want to read the tutorials in the future.
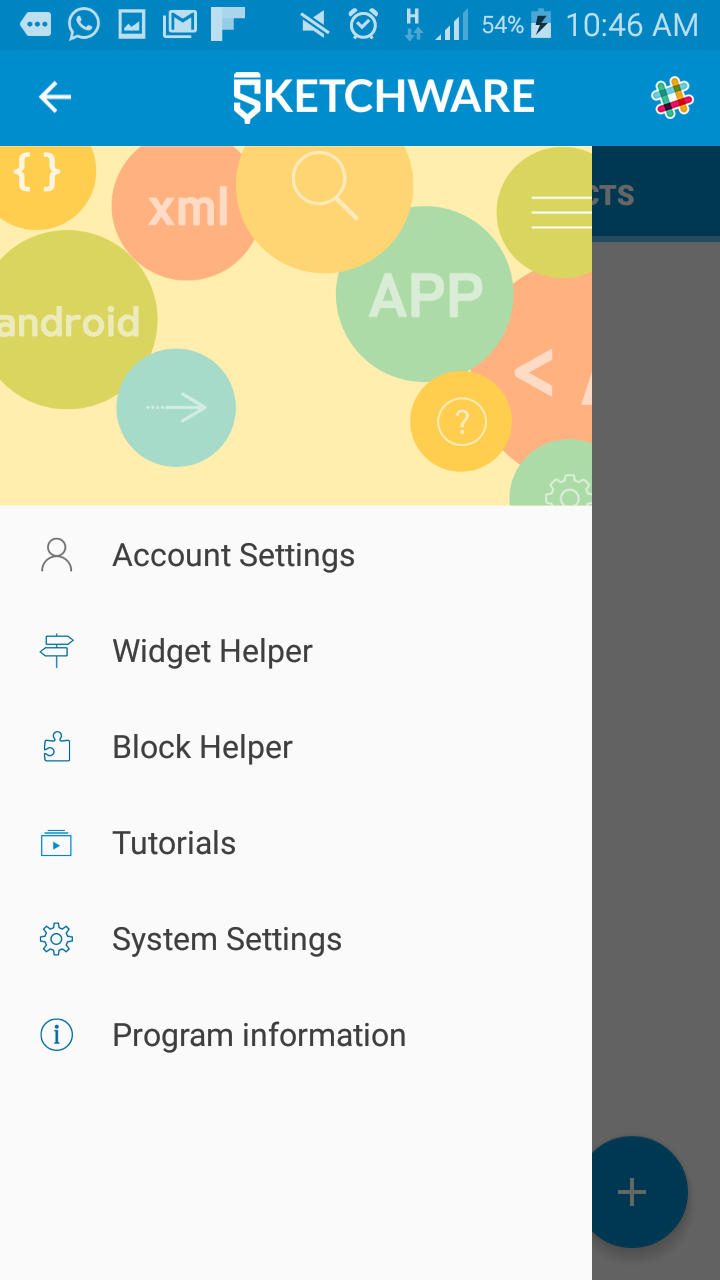
4. MY PROJECTS
Tap MY PROJECTS tab.
You see a PLUS (+) button at the bottom right of the page.
Tap the PLUS button to create a new project.

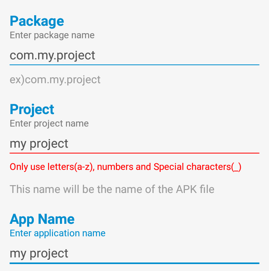
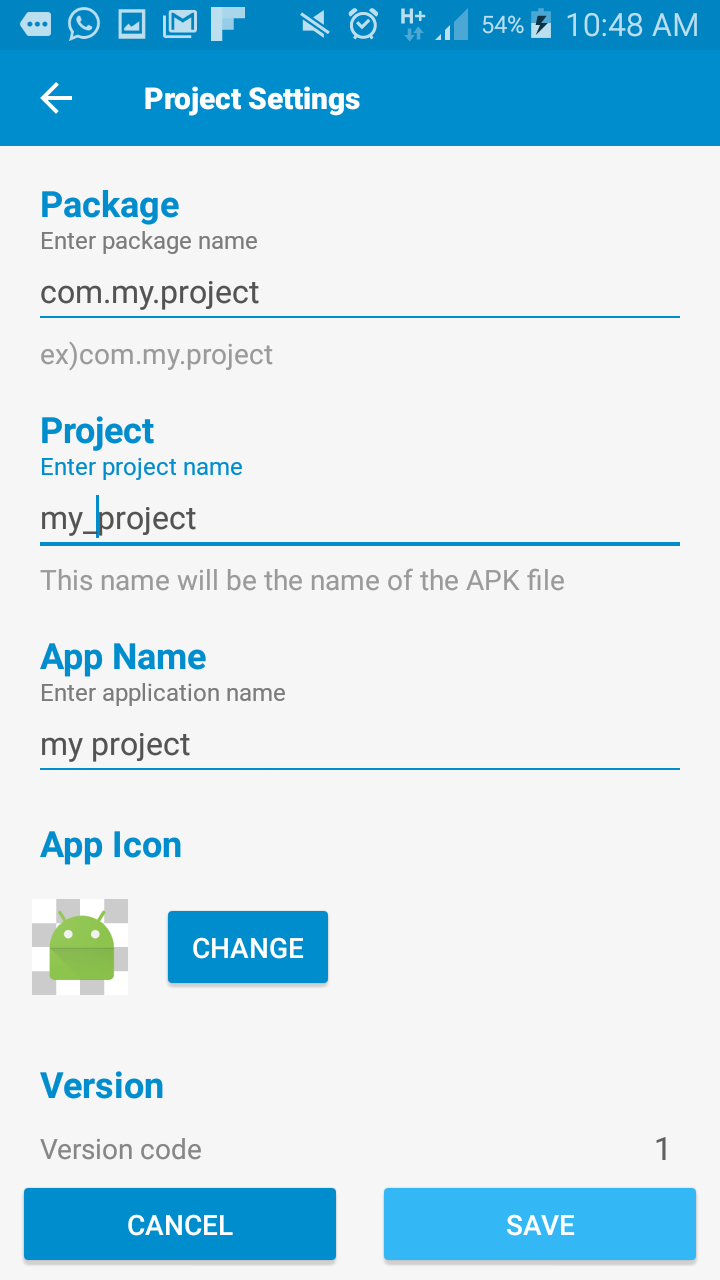
5. Project Details
Enter project details.
The compulsory part is: Package, Project name, App Name.
Make sure you follow the instruction eg project name must not have a space (use _ to replace the space)
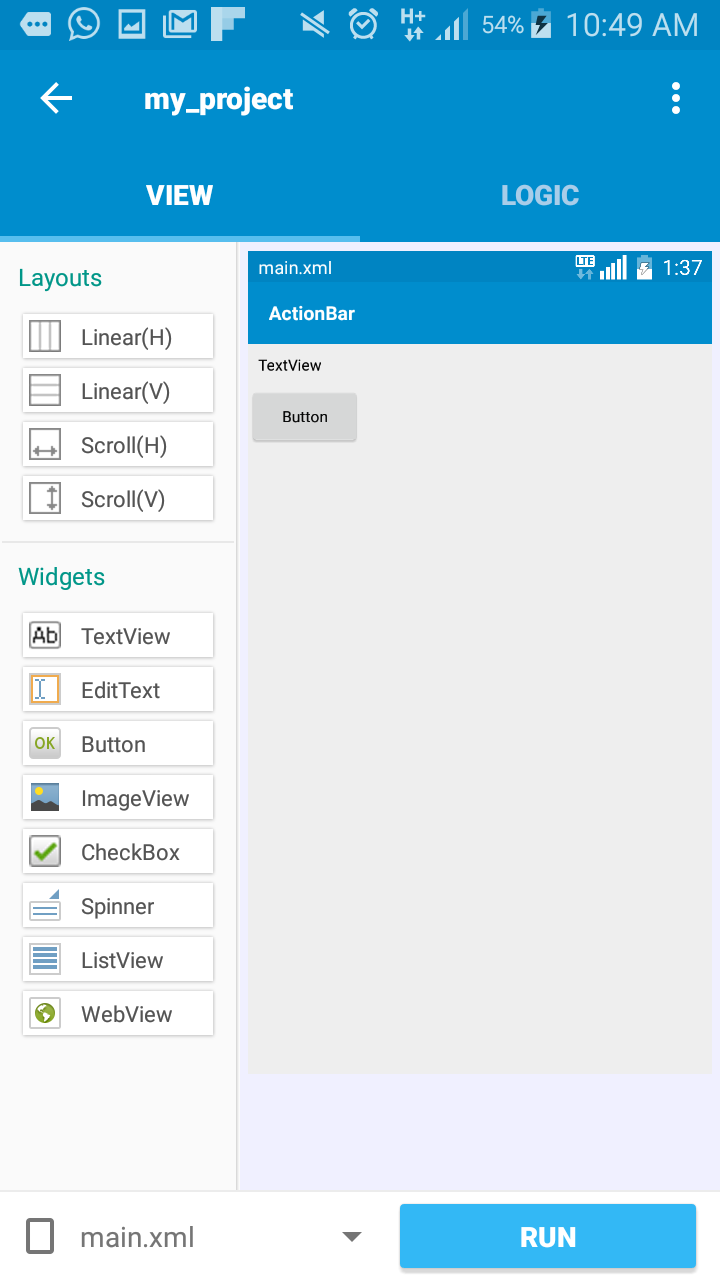
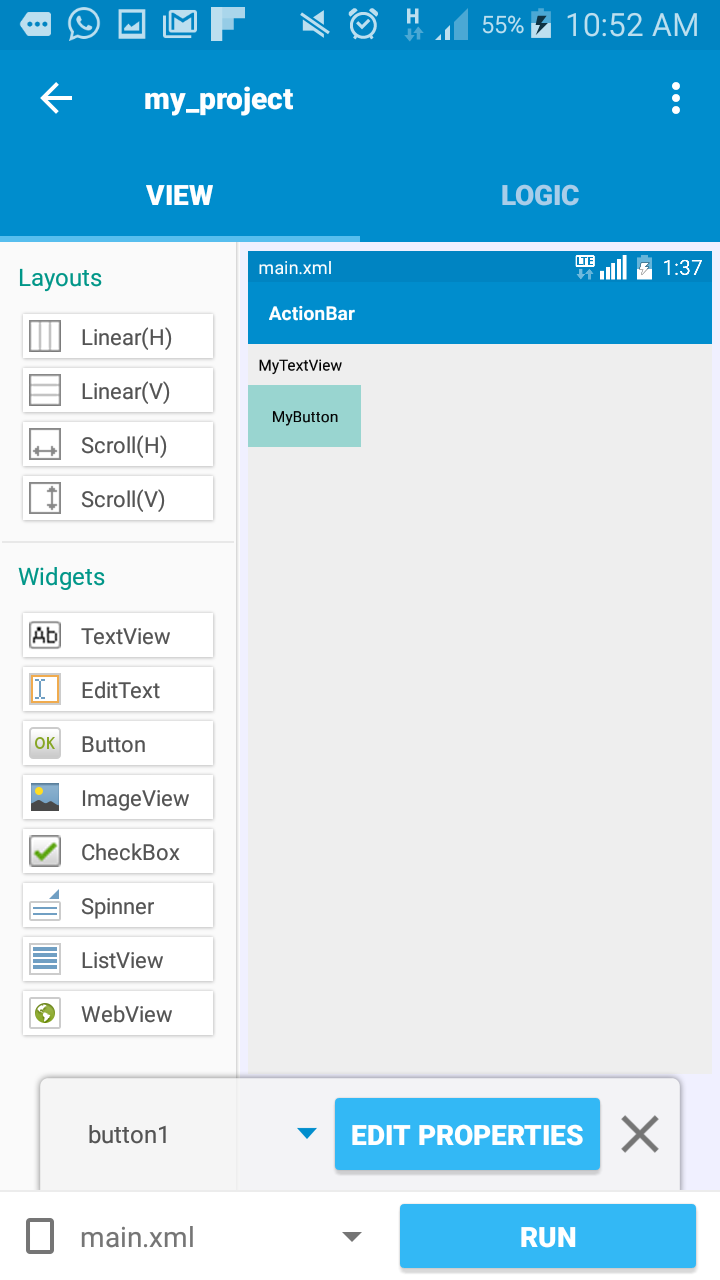
6. VIEW section
VIEW section displays the layout of your app.
You can put LAYOUTS and WIDGETS into your app.
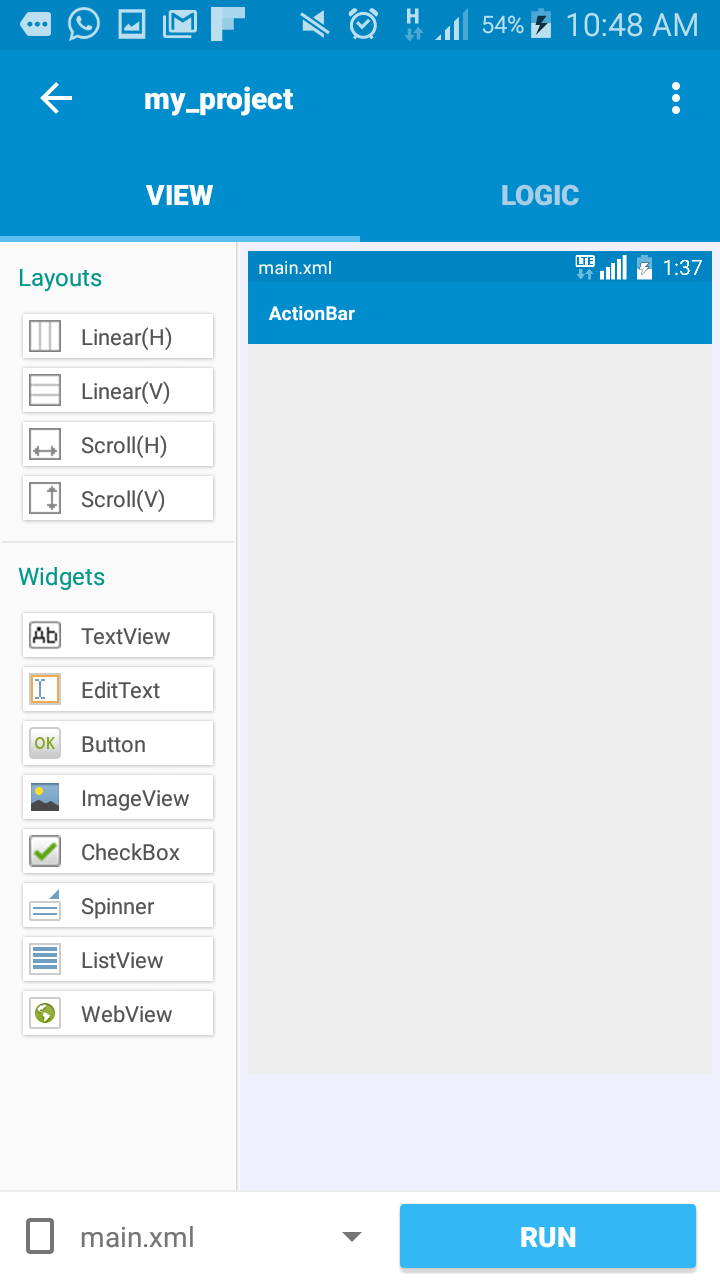
7. Add Widgets
Tap the TextView and drag it to your app page.
Then, tap the Button and drag it to your page.
Your page has two widgets now.
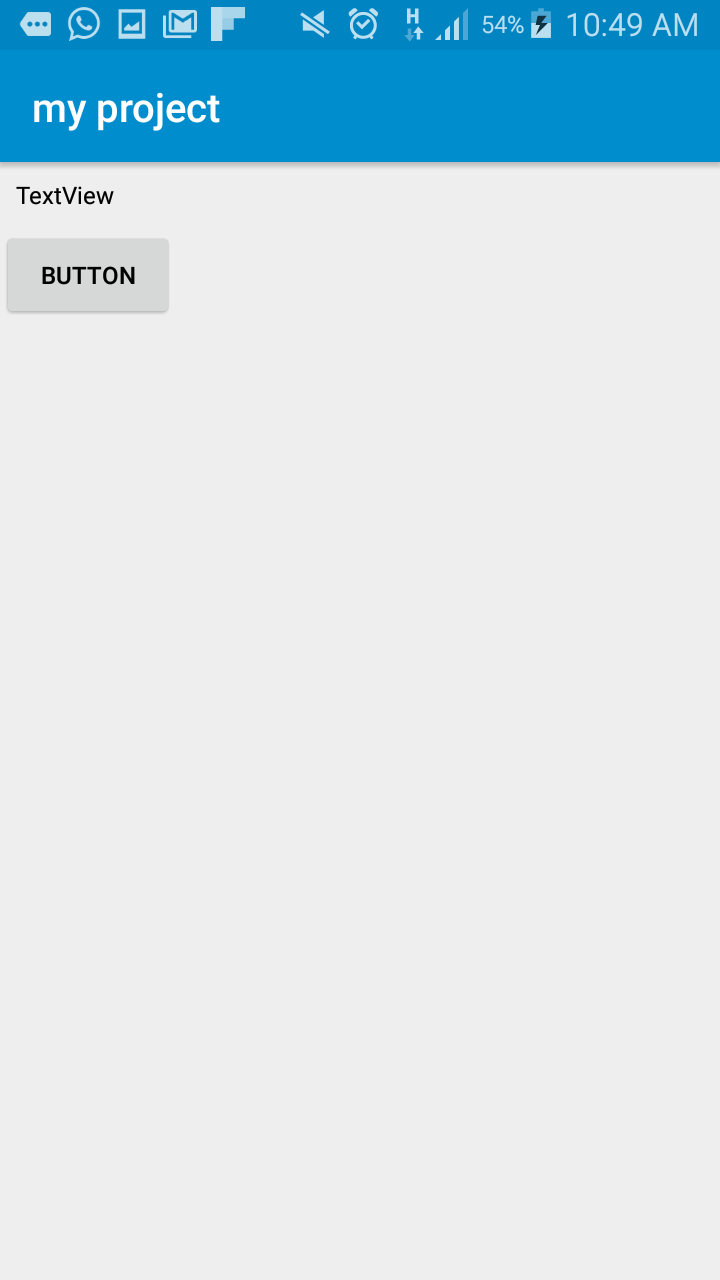
Tap the RUN button
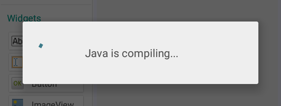
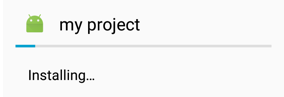
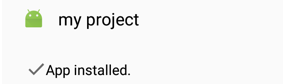
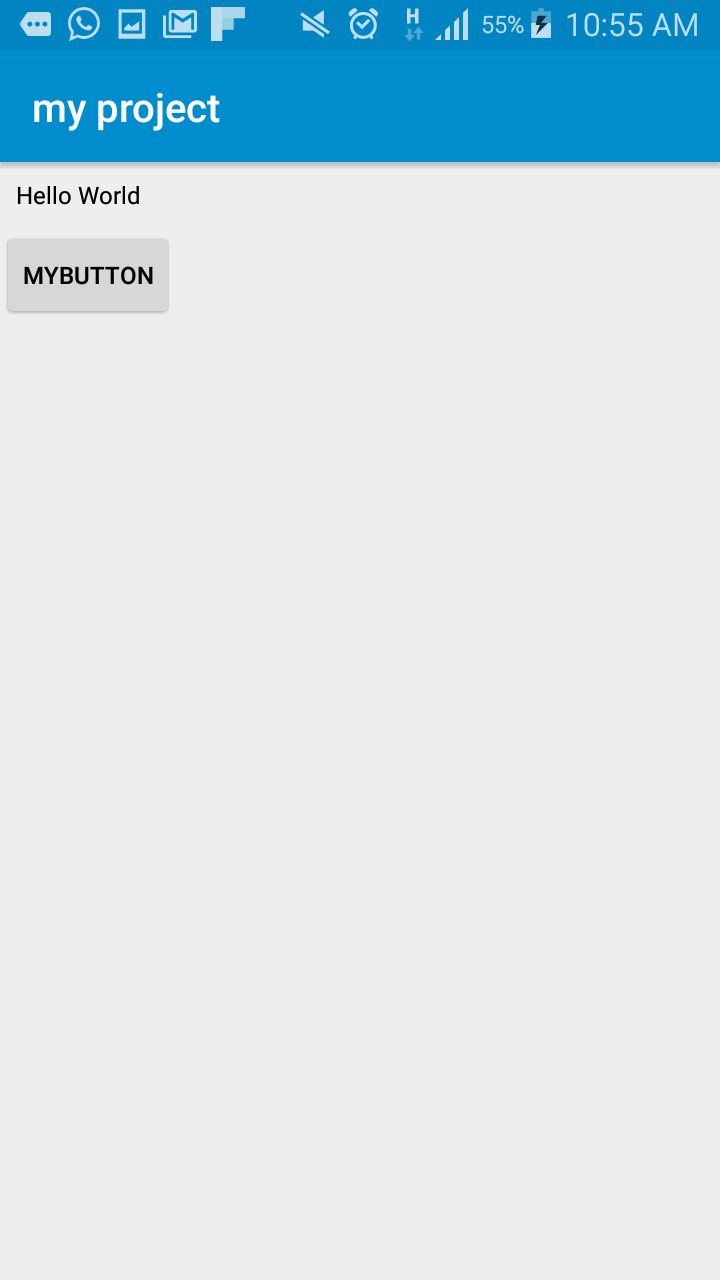
8. RUN the app
Wait for Sketchware to build the app.
Allow Android to install your app.

Wait for installation process
Done.
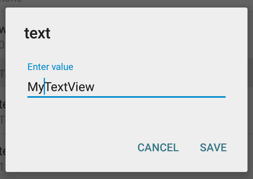
9. Edit TextView
Tap the TextView object on the app page.
Select the text item.
Change the text to MyTextView.

10. Edit Button
Tap the Button object on the app page.
Select the text item.
Change text to MyButton

11. LOGIC section
The LOGIC section contains the actions for your app to do.
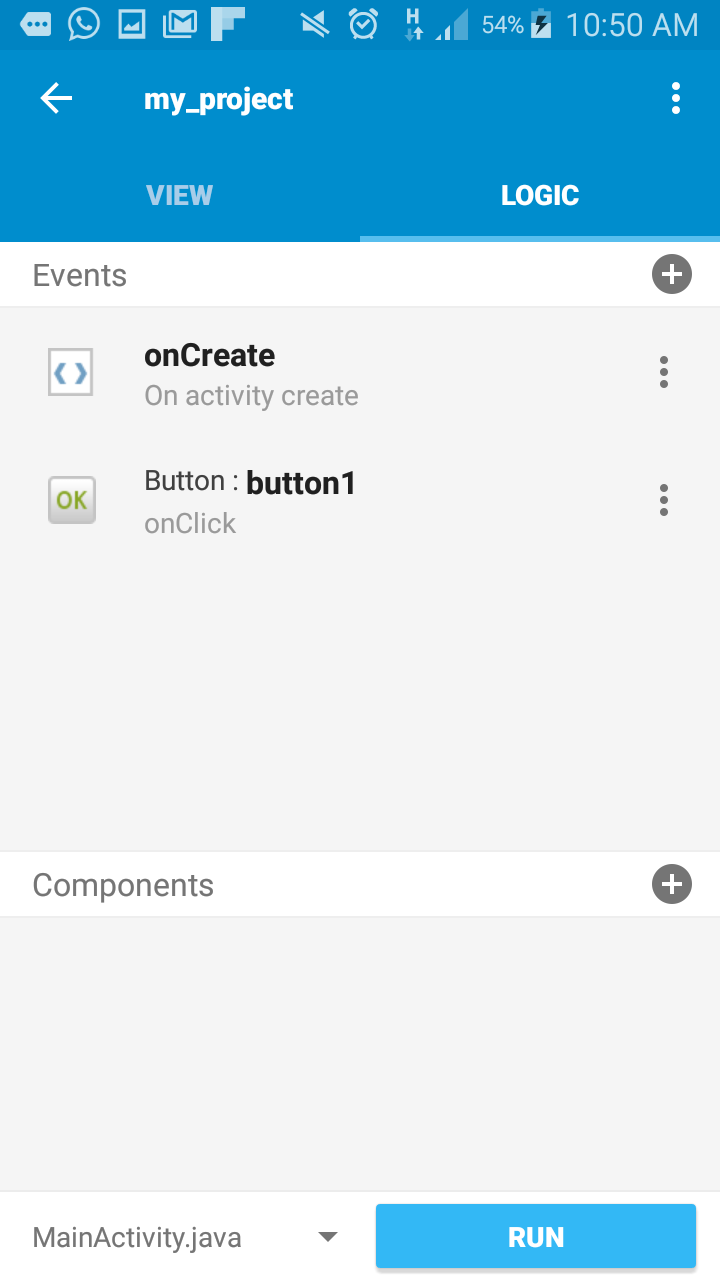
12. Edit Button LOGIC
On LOGIC tab,

Click the Show Action Panel.

Drag the setText action into the app.

13. Assign target object and
Assign target widget to the action.
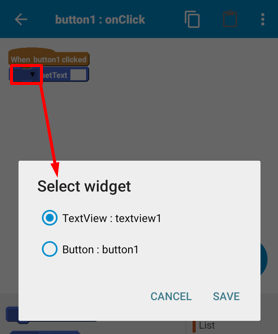
Assign the string.


14. Run again.


.